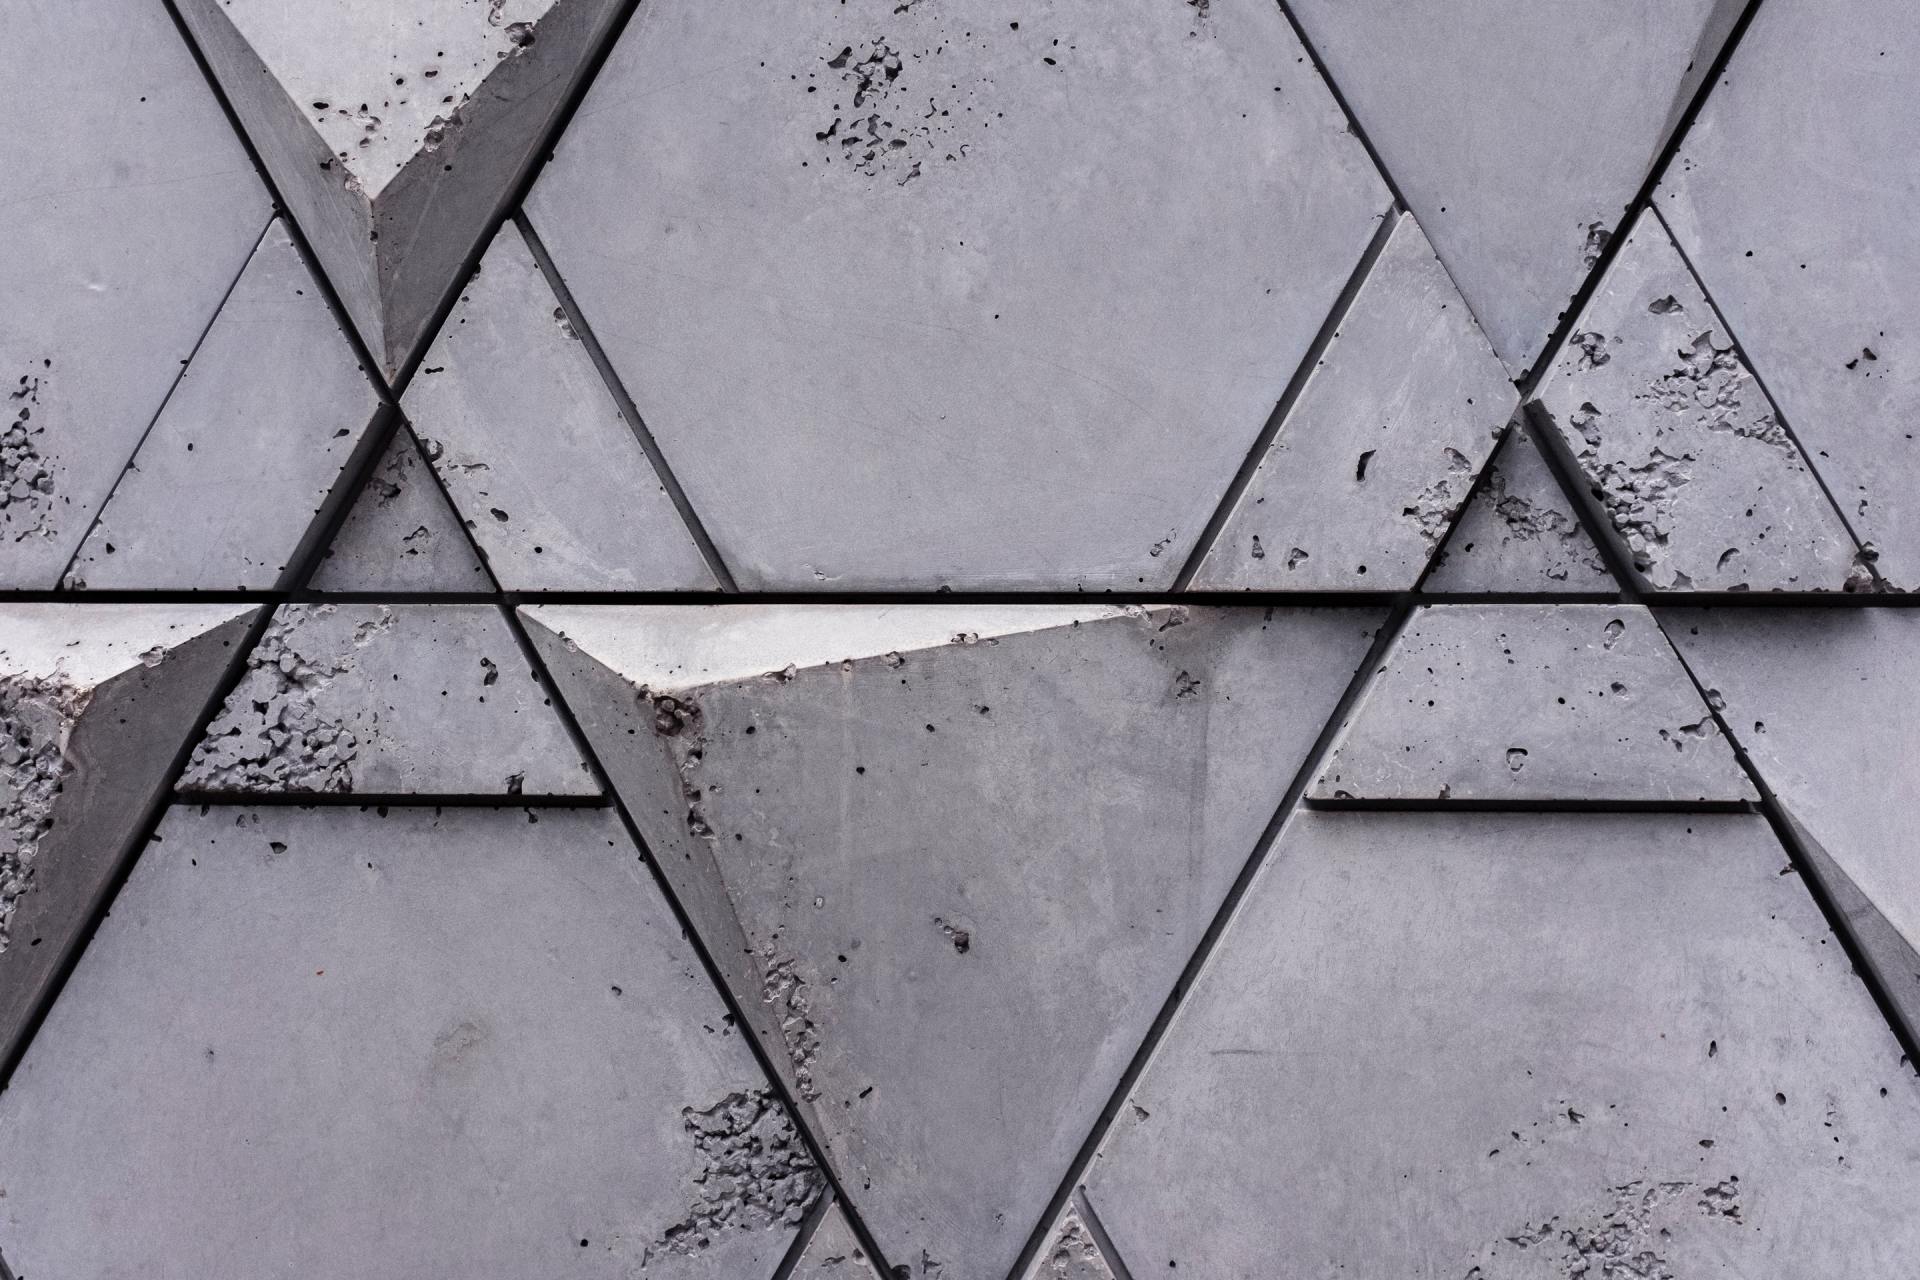
Decorative Concrete
Decorative concrete is a stylish and durable material that can be installed in your yard or on your property. There are many decorative patterns you can choose from, and the installation process has several steps to it. In this blog post we will discuss decorative concrete installation: how to plan for it, pour it, set decorative concrete in place, install decorative pattern onto the cement - basically everything you need to know about installing decorative concrete!
Decorative Concrete Installation: Sequence of Steps
You start decorative concrete installation by deciding what decorative pattern you want to use. Next, you need to plan for the decorative cement pour and install it! The last step is installing a decorative pattern onto the formed surface.
Decide on a design or project that will make your yard stand out from others in the neighborhood. You can choose any style - stamping, staining & painting etc., as long as there are no cracks between tiles after they have been installed together with mortar adhesive. There are several styles available online through reputable dealers which sell decorative concrete patio materials. Make sure that whatever you pick has never been used before because this way its originality cannot be questioned later.
The decorative concrete pour is a process where decorative cement is poured to make a pattern or design. You need to consider the type of decorative finish you want for your patio - do you want stamped, staining and painting etc., then plan accordingly. It should be noted that colors can fade in time if exposed under direct sunlight so it's best not to use bright colors such as yellow and red when using decorative concrete patterns on patios because these are usually located outdoors under strong sunrays which will cause color fading over time. Always try to choose light colored decorative finishes instead!
If there was one critical step we could suggest though, it would be letting the decorative cement set completely before installing any onto it with mortar adhesive (you can use decorative concrete sealer later if you want to). It's best not to install decorative patterns onto fresh cement because it can cause cracks which are very difficult or even impossible to fix.
The last step is installing a decorative pattern on the decorative cement. This will ensure that your patio has an original design and won't look like another in your neighborhood! You need specialty tools for this job, but they're available at any hardware store near you. Decorative stamping kits usually come with stamps which have different designs on them so pick one of these according to what type of decorative finish you chose earlier (stamped, stained etc.). However make sure that whatever kind of stamping kit you get comes with adhesive mortar mix - otherwise it will be useless!
Decorative concrete patio installation is not very difficult but it does require patience, planning and time. You must be sure about what decorative finish you want since that will determine the type of decorative cement to buy as well as which masking tape to use (or if any at all). If you already have a decorative pattern in mind for your decorative concrete patio then make sure there are no cracks between tiles after they're installed together with adhesive mortar mix before proceeding.
- Once your decorative concrete patio has been installed and finished properly with a decorative cement finish that matches what you wanted from the beginning, it's time for adding finishing touches. For instance if your home exterior is white so is your patio - there's no need to add any additional color or paint onto the flooring except maybe some lines over certain areas of it using acrylic paints which dry quickly and can be easily washed off once they fade away completely after several weeks. In this way safety issues are also taken care of as well since painted markings on hard surfaces mean safety warning zones because people won't trip on them anymore.


